This blog post is to show some of the final images I have captured whilst running the exported project.
This blog post is to show some of the final images I have captured whilst running the exported project.
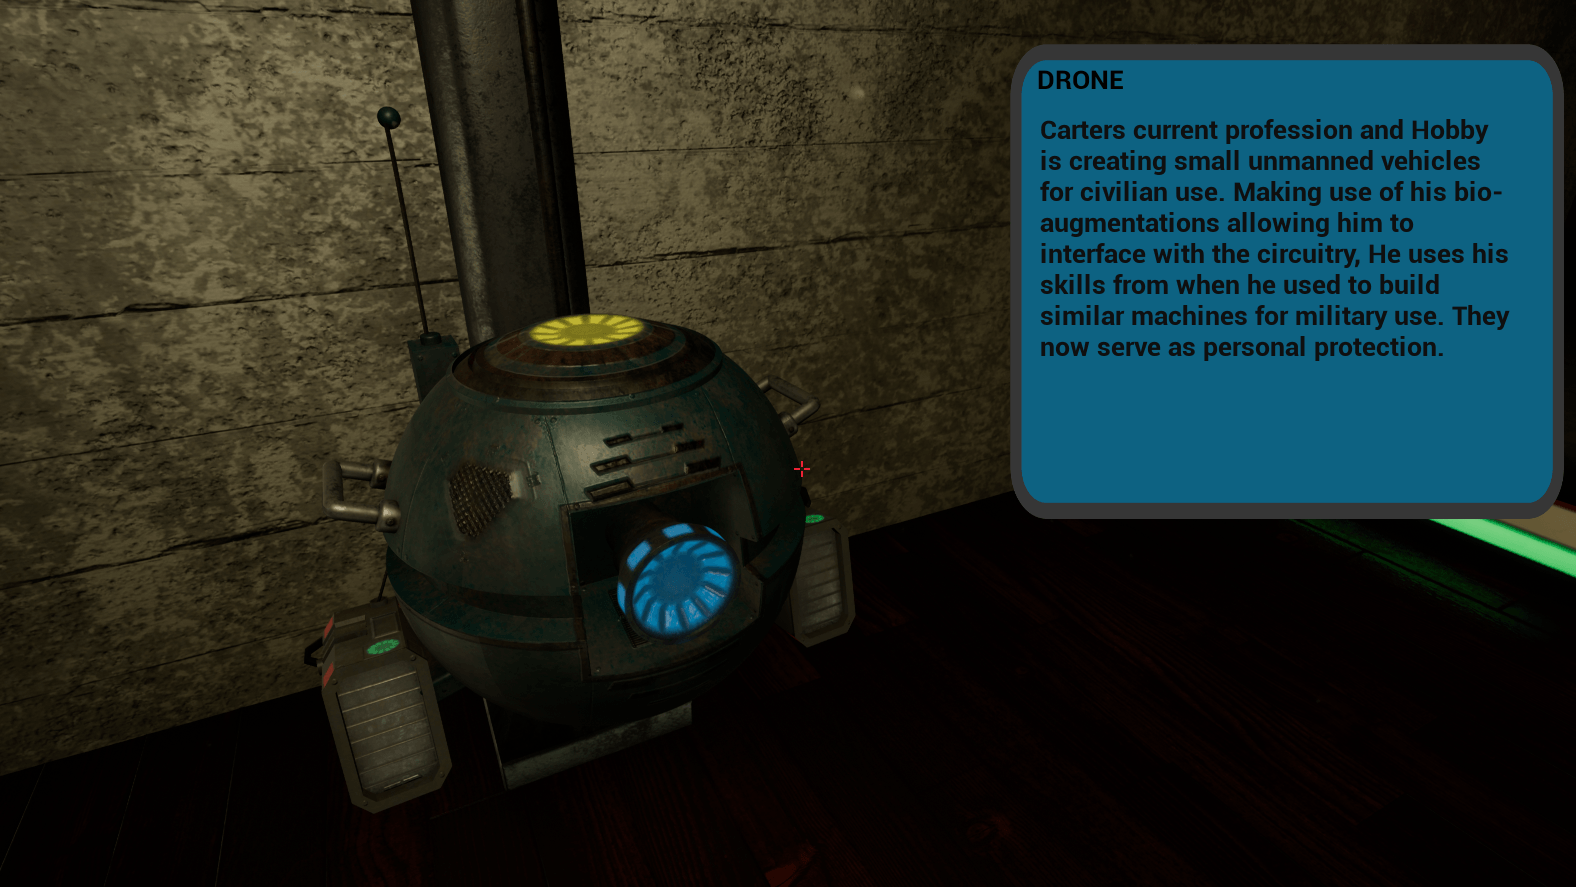
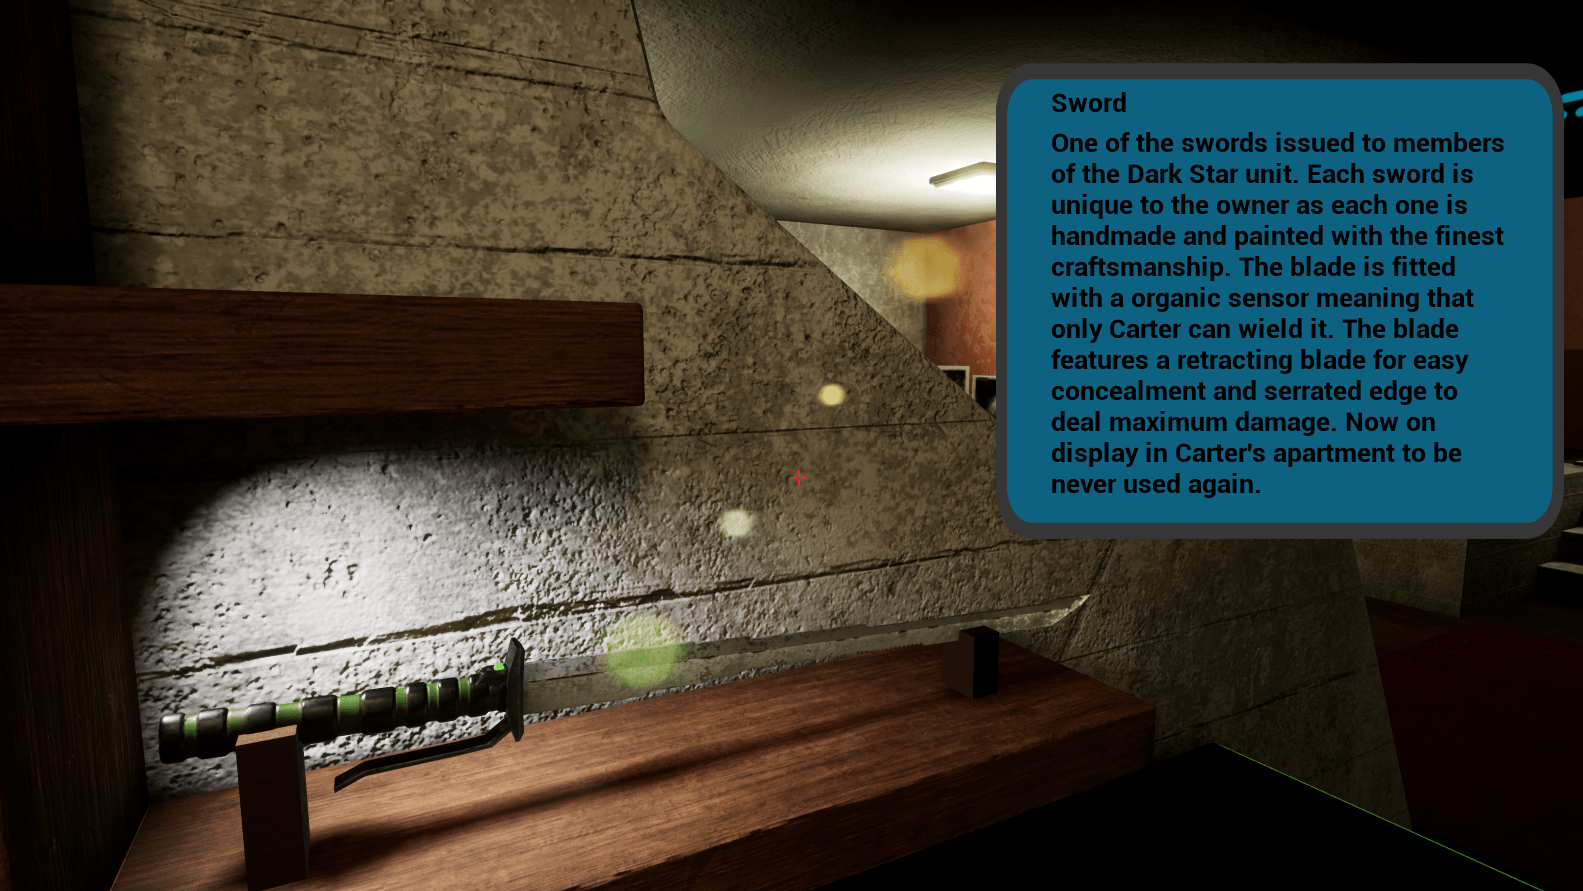
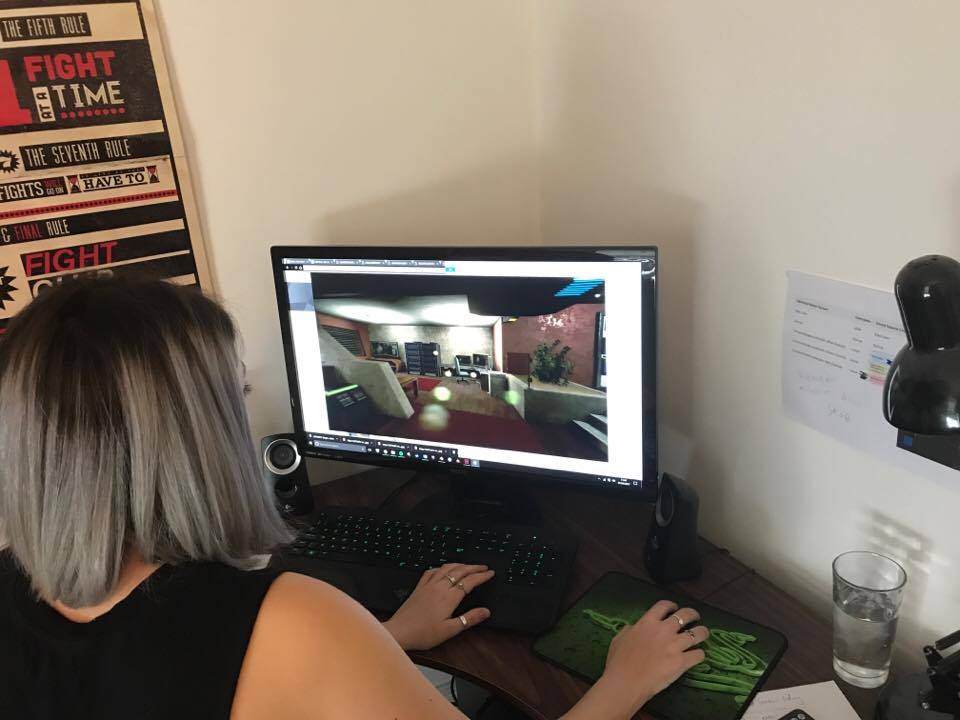
One of the last things I did was get some people to have a look at the exported project to have a look and give me and any feedback that. The feedback i received was mainly positive, saying that the apartment had been well modeled . Once piece of feedback that I received was that the camera was to quick so if you moved the mouse the view port would move quickly. However they did say that it wasn’t to bad as I had added motion blur to the view port. I was told that the dust particles floating through the air was nice as it gave the scene depth and immersion. Finally I was told the the ambient sound was a bit to loud so this is something I would need to take into consideration in the future.

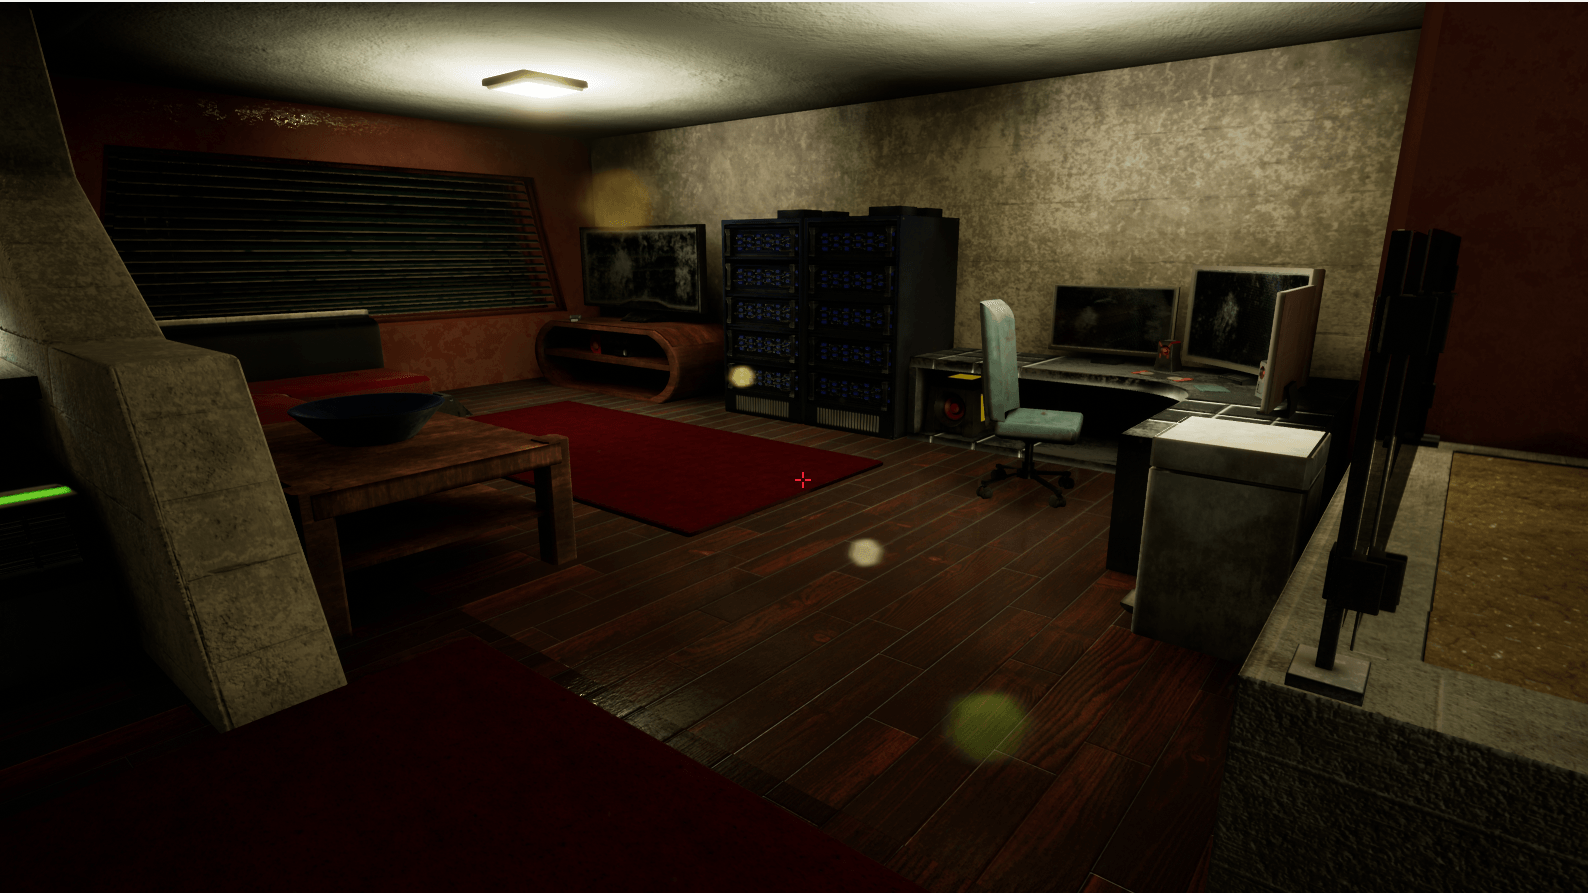
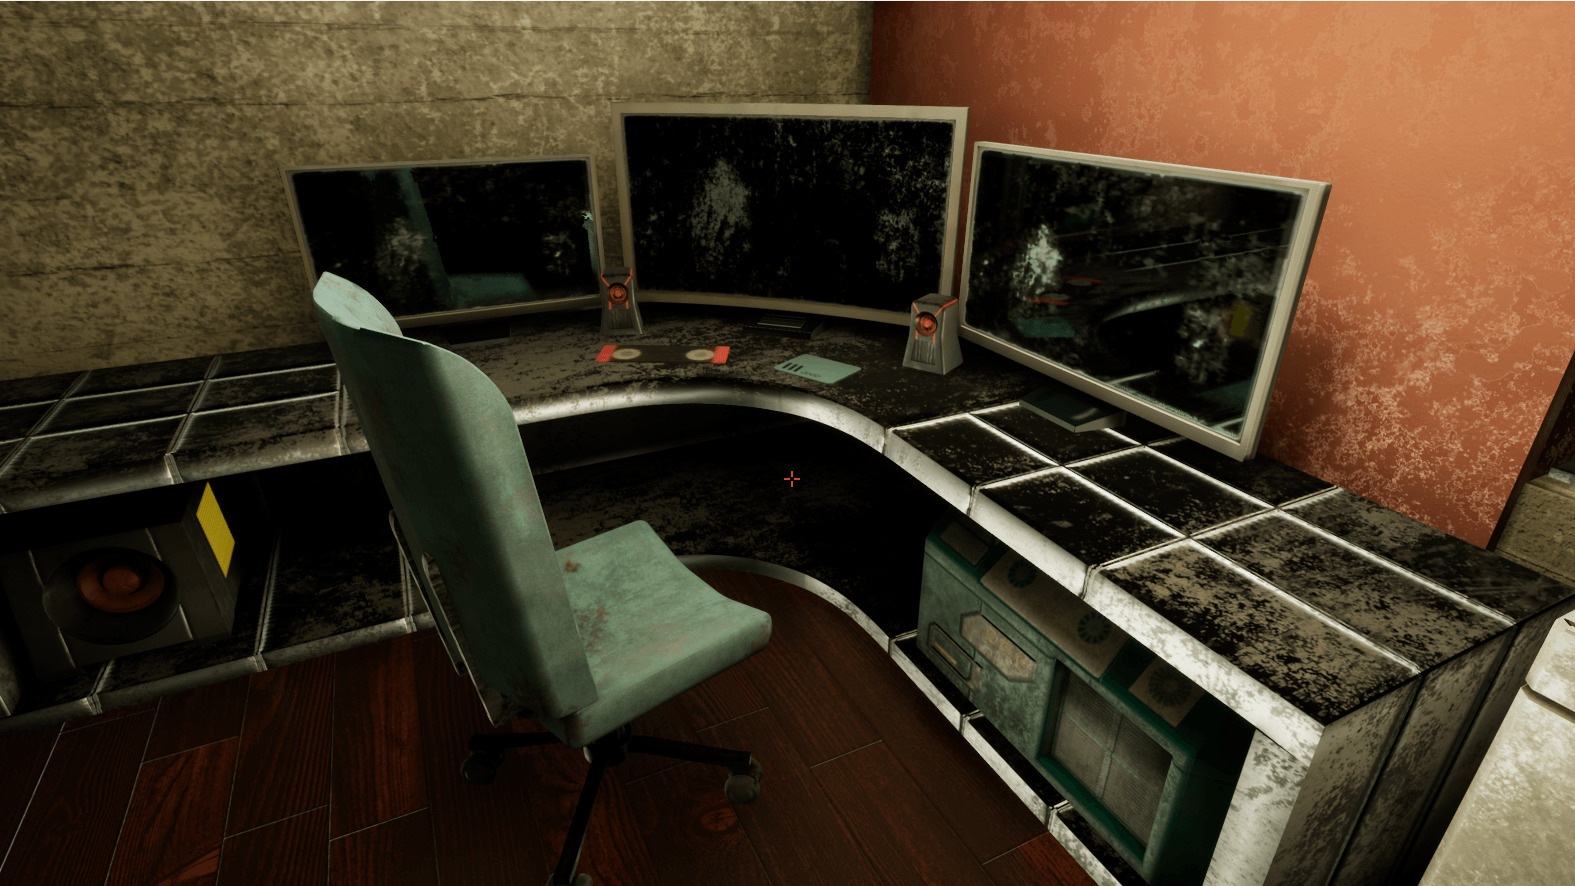
I recorded another screen capture focusing more on the height painting and texturing further along the project. In this time lapse I am focusing on the living room and desk area as there were still a lot of model outstanding for these. As you can see over through the duration of the time lapse I am able to quickly model and texturing models. This is because i have crated a custom mask for dirt which allows my to quickly apply a thin layer of dirt over a model. This gives the model context and helps make a model fit the scene better.
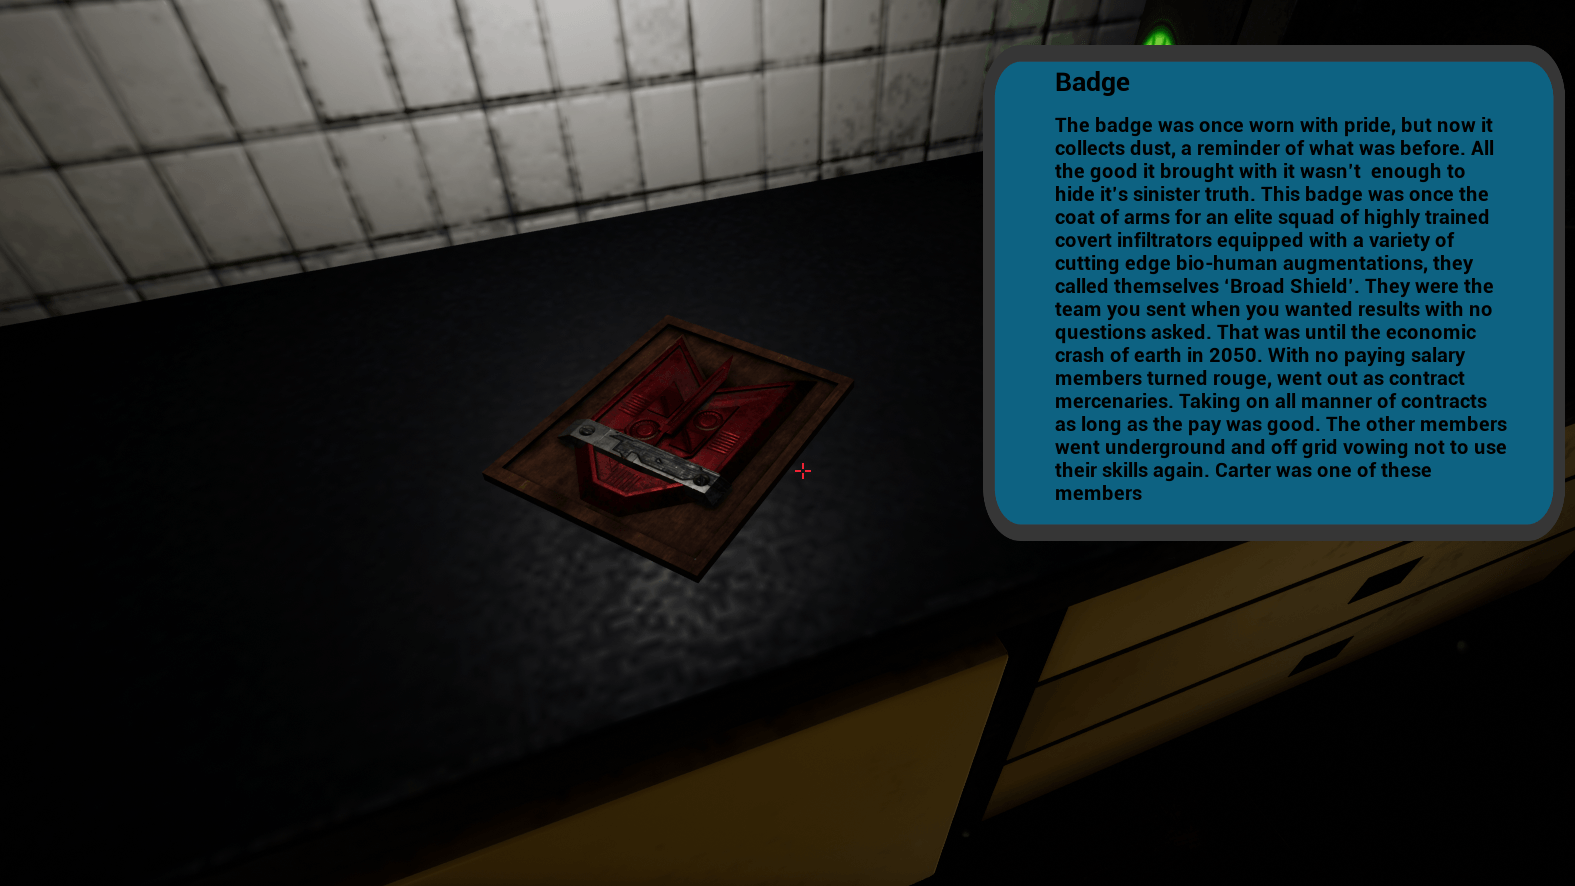
I decided to screen capture some of my texturing stage as well so that people can visually see how I go about my work. I create a few models in this tutorial mainly the Sub woofer for the desk area and the Badge which is one of the main interactive items. Whilst you only see me modeling the badge I will put a link to the Sketch fab page so that it can be viewed in full 3D. Earlier in the time lapse i am going through height painting the sub woofer before i bake out the maps. I am doing this so that i can include the detail i paint on in the other maps to allow dirt to collect in these recesses.
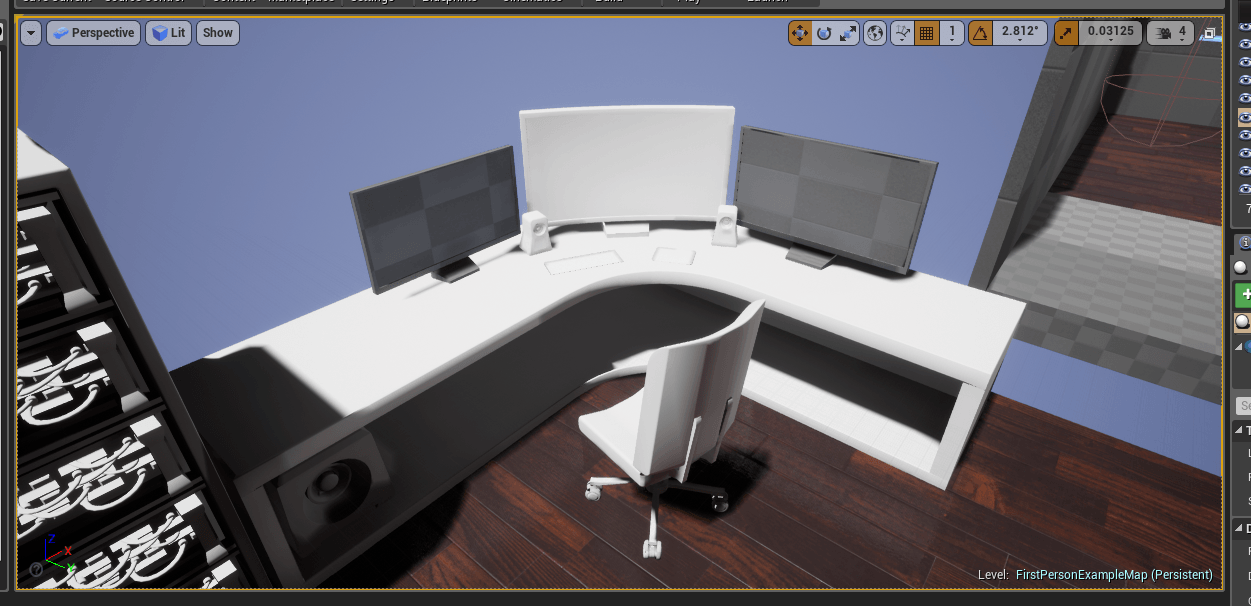
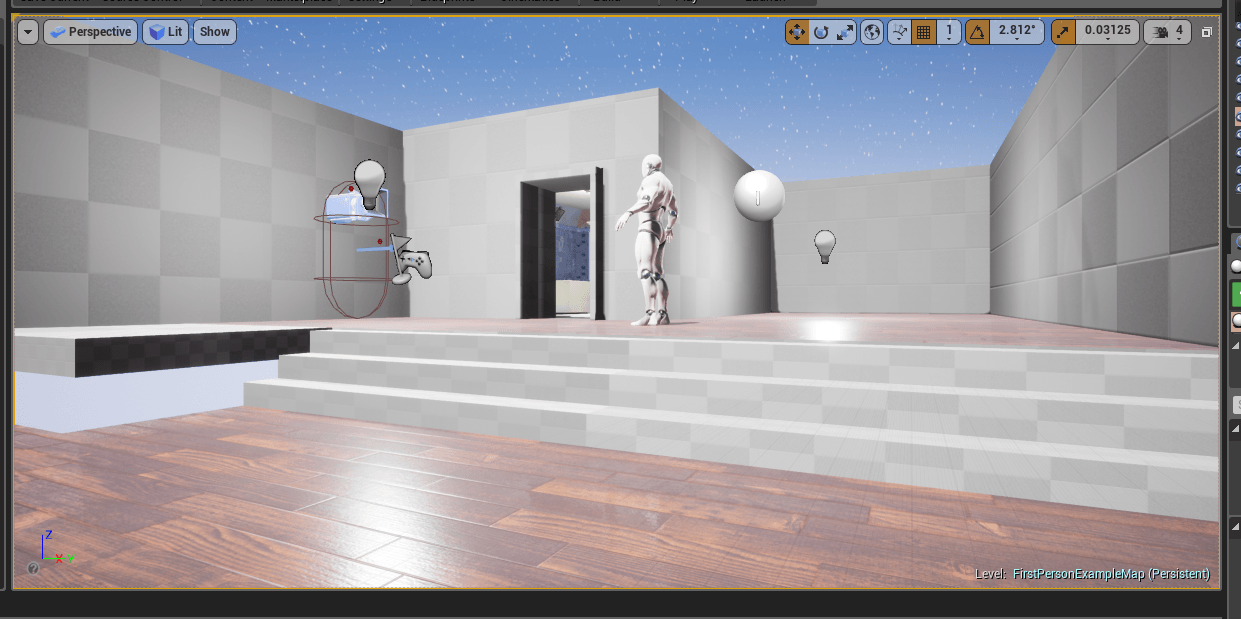
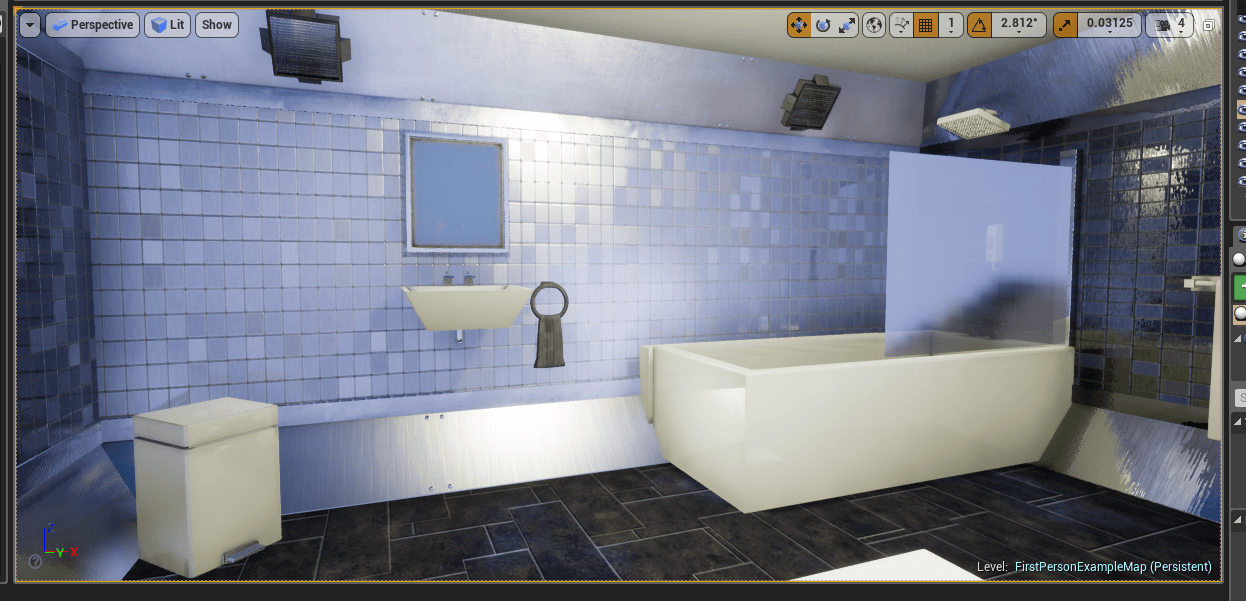
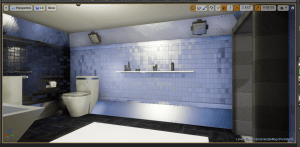
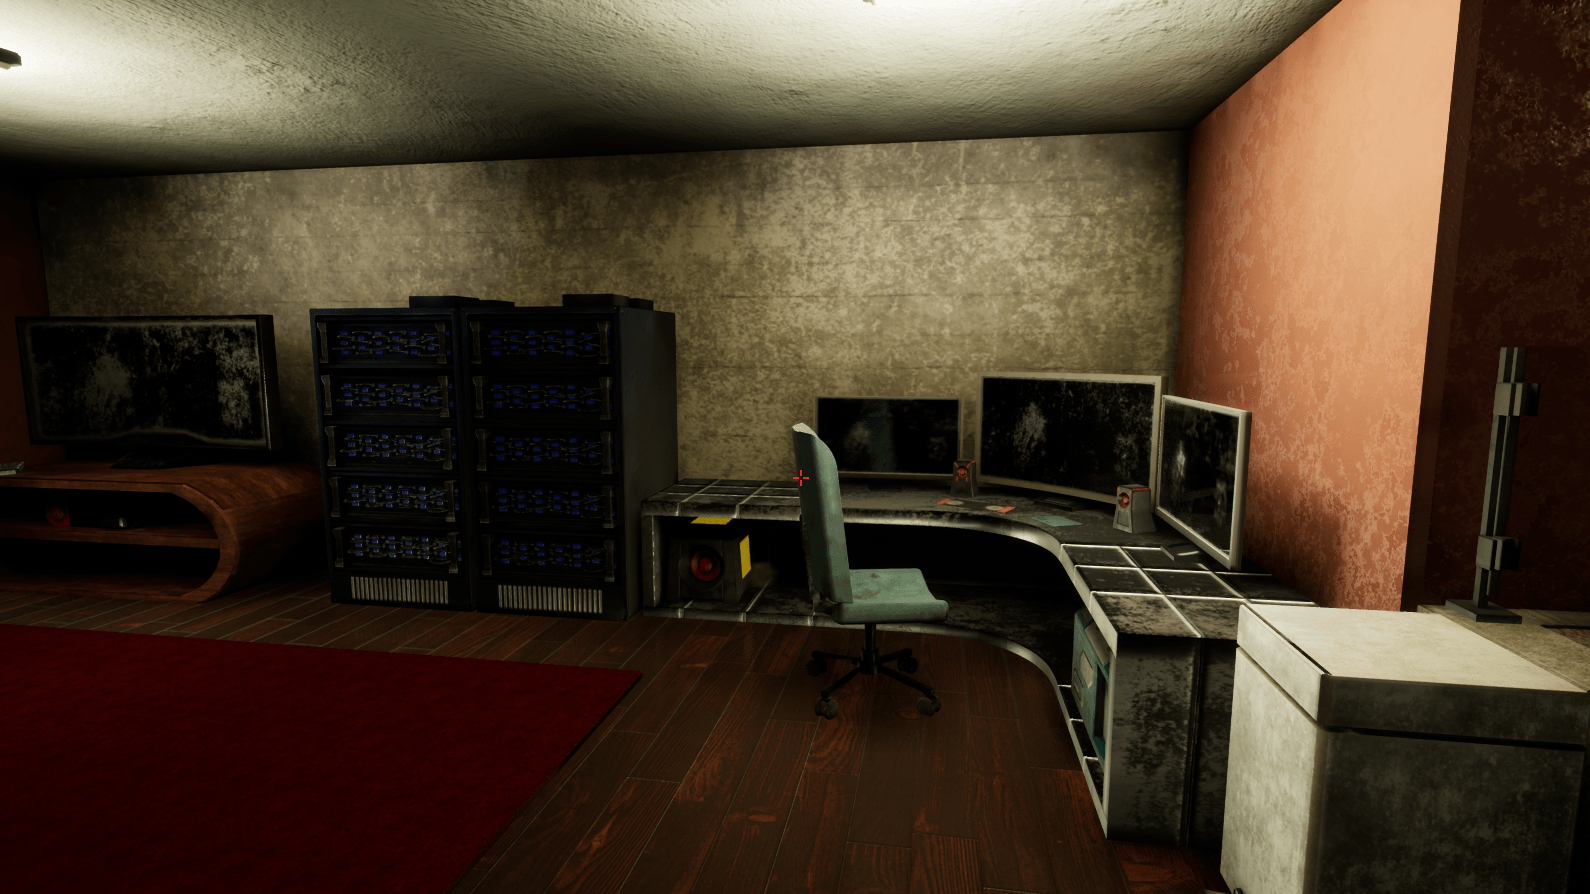
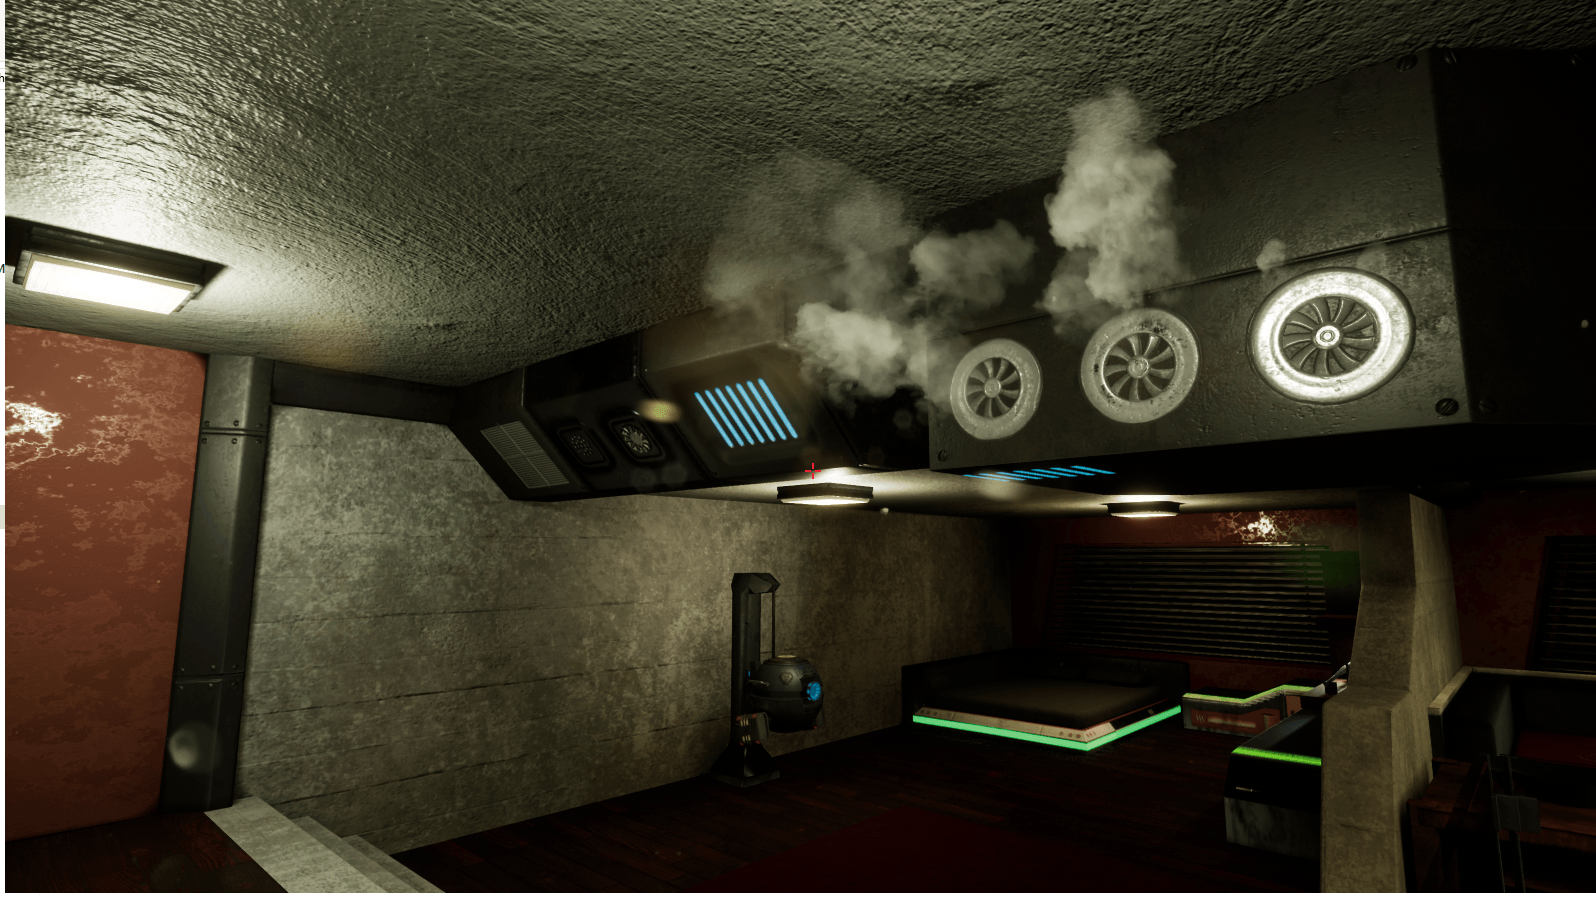
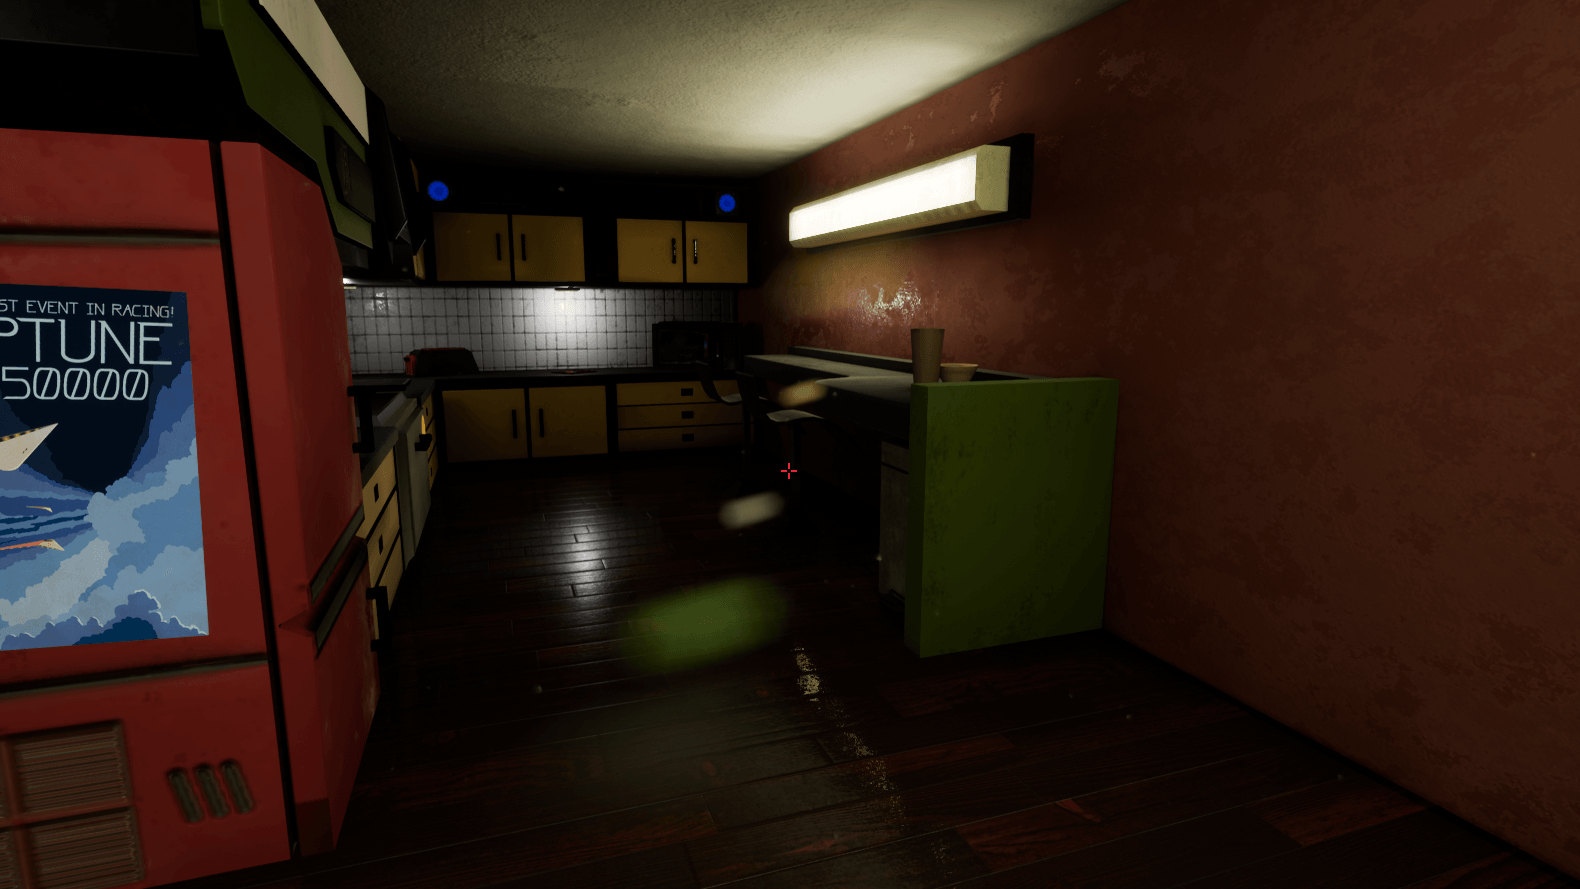
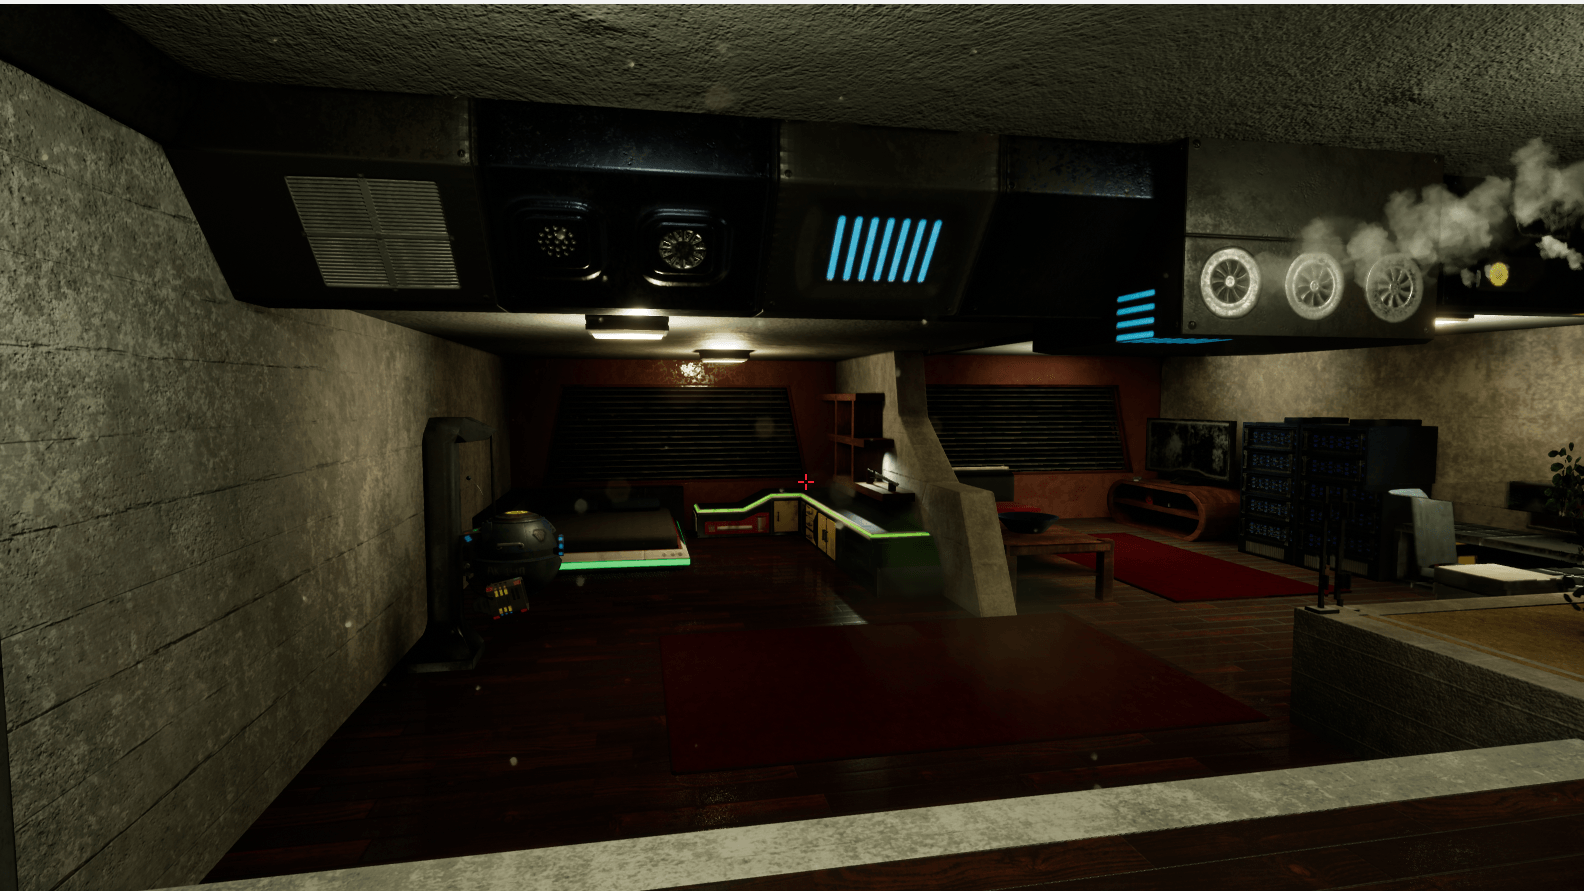
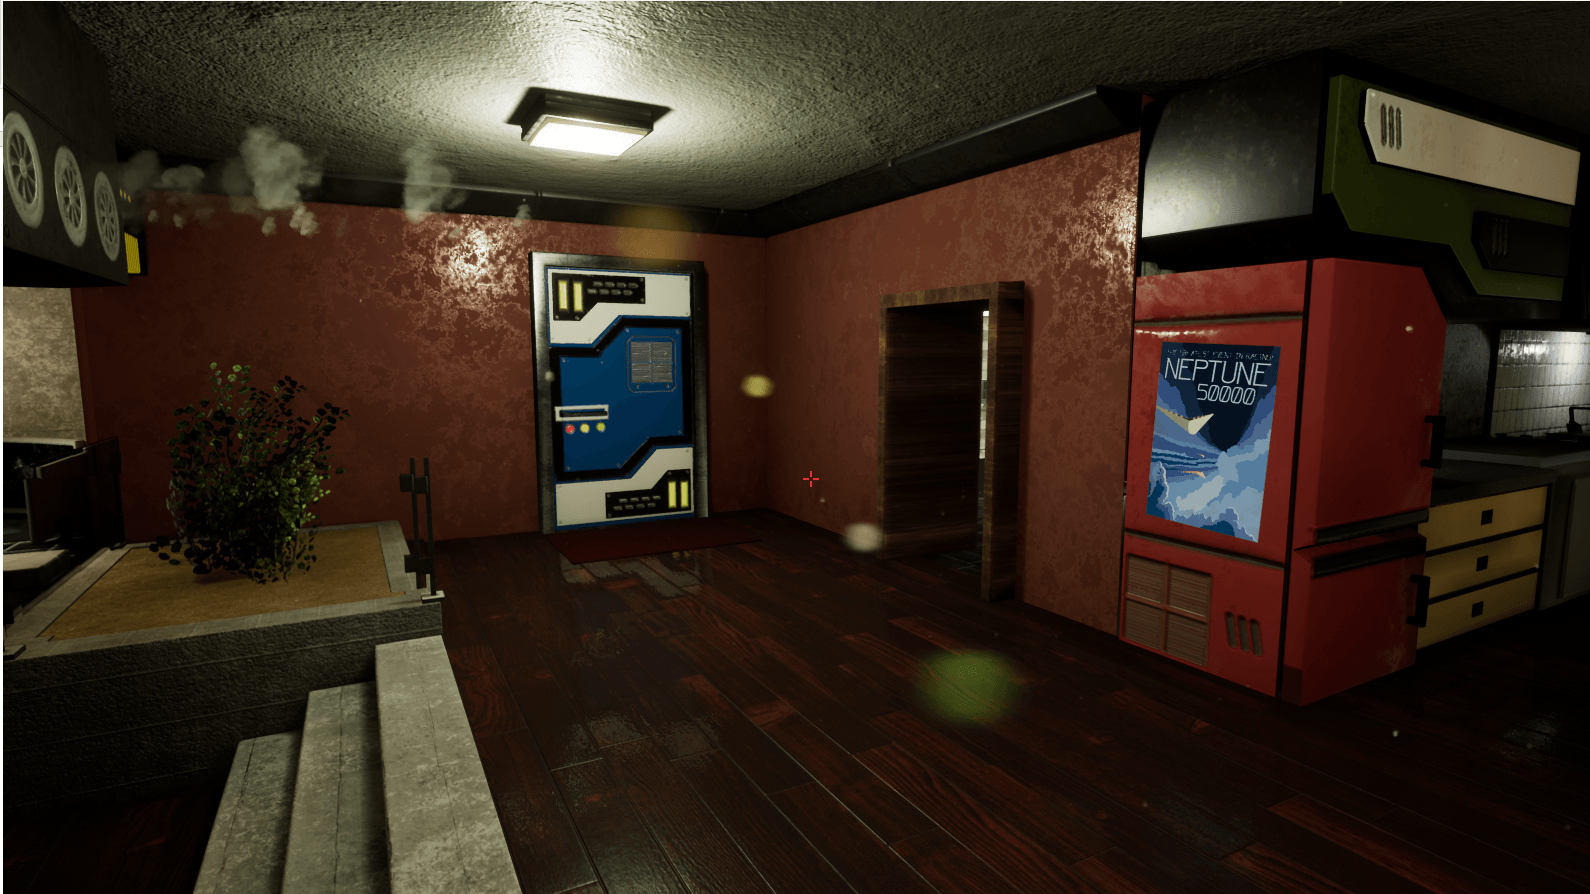
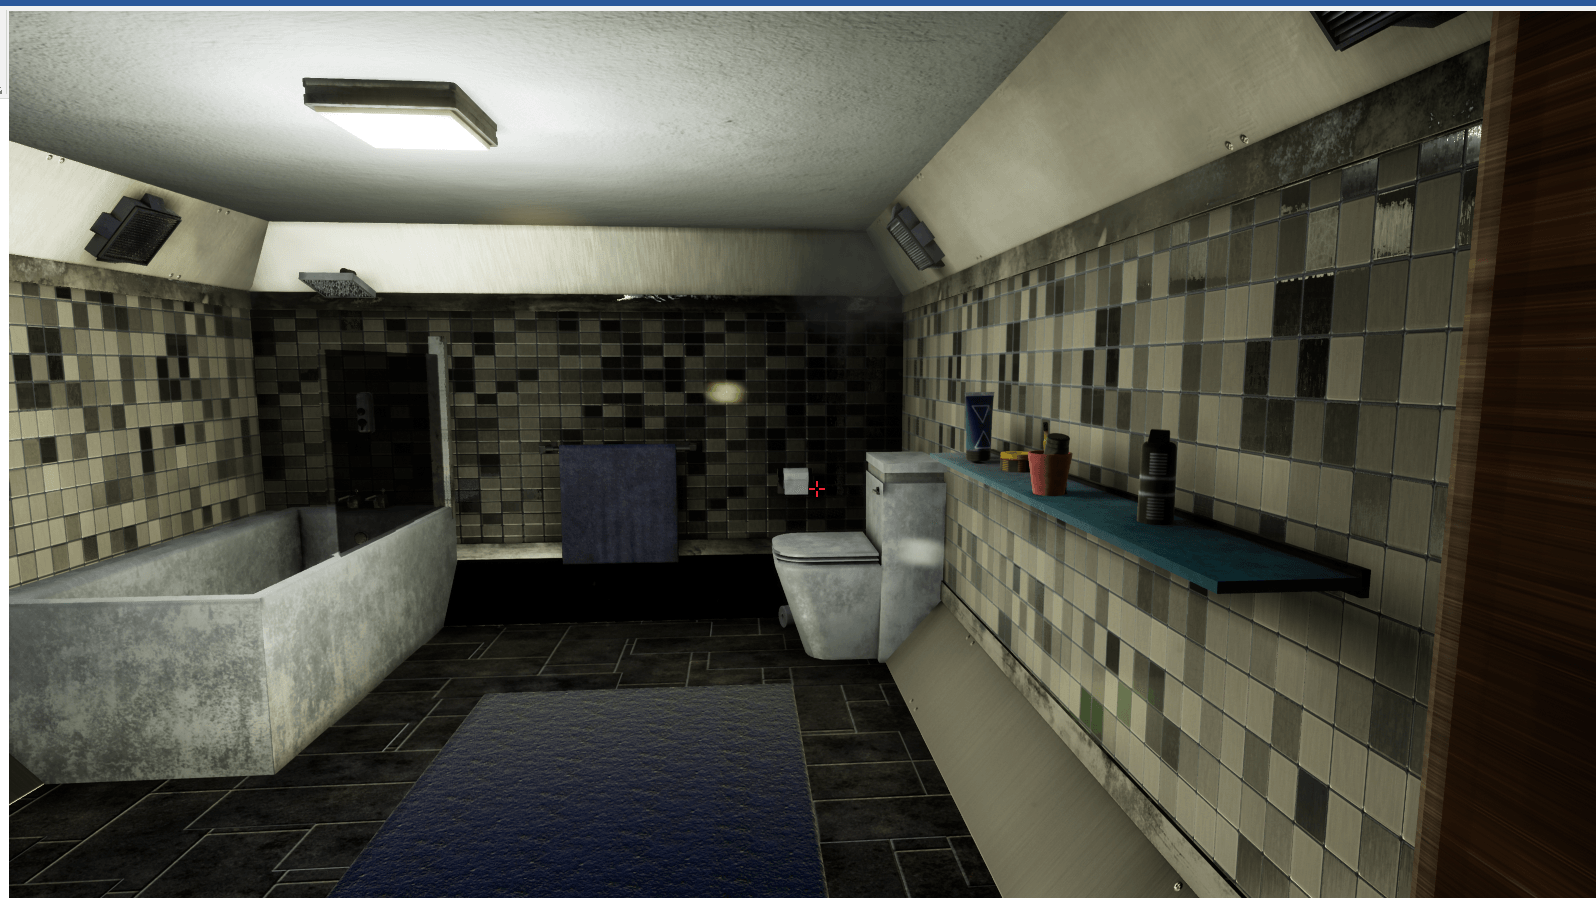
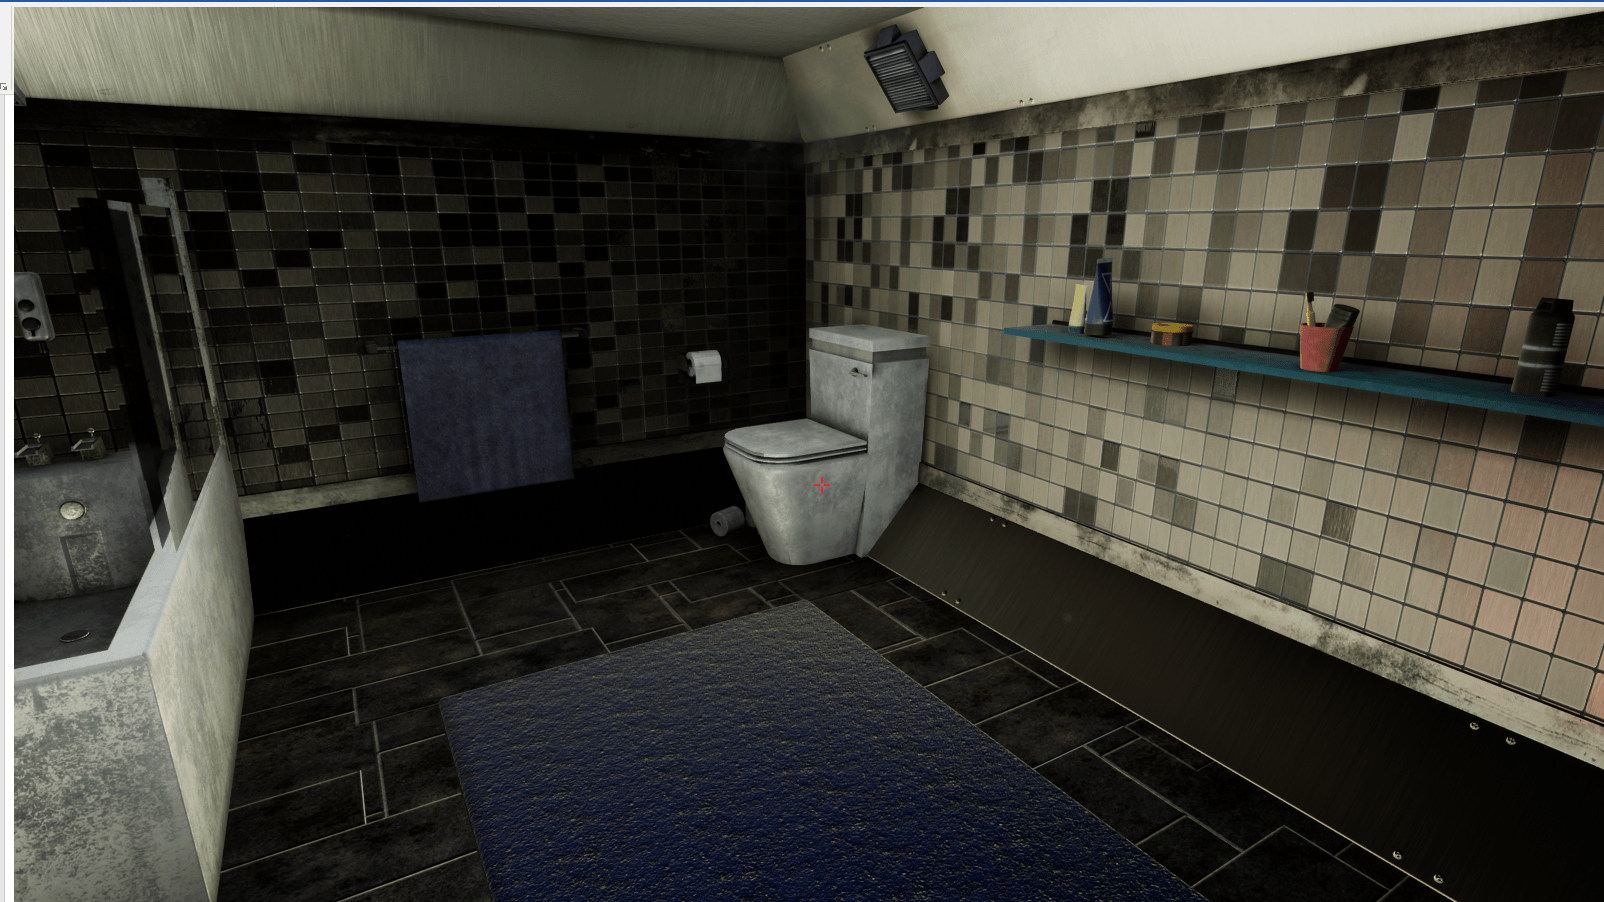
Above are some still render shots of how it is coming along. I took these to show my tutor for my last meeting. His overall opinion was good so this will encourage me to work hard in the coming few weeks to get it finished ready for export and submission.